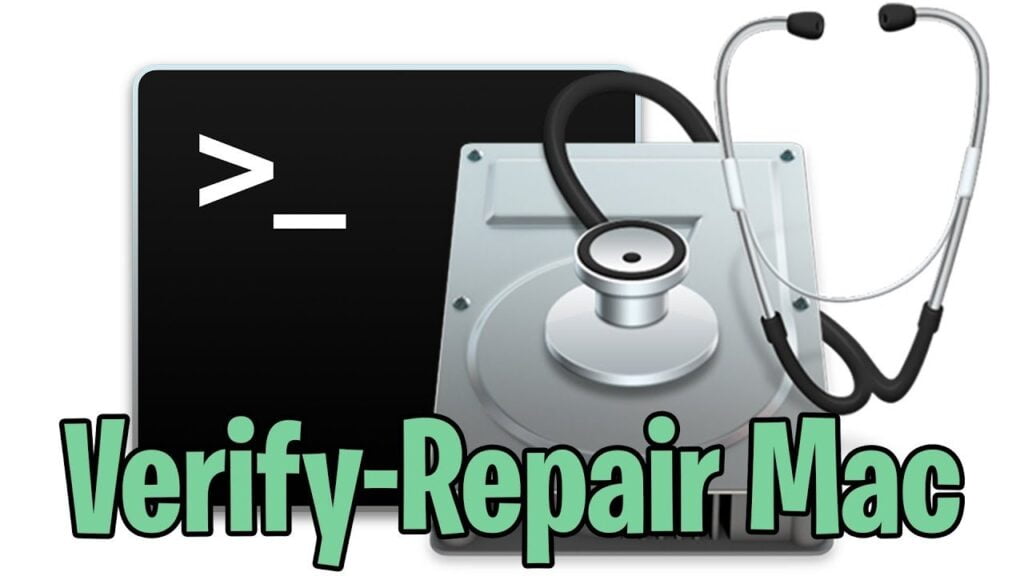
Repair MacOS System Disk…
Integrity of our information, some times you need check your drive.
WE HAVE 3 WAYS TO SOLVE IT:
Launch Disk Utility and click First Aid followed by Run, selecting volumes in the following order:
- Macintosh HD – Data
- Macintosh HD (assuming you haven’t renamed the startup volume)
- Container disk
- SSD
If First Aid finds any errors, it’ll attempt to automatically fix them.
Solutions for this problem:
1- Try Safe Mode
“Safe Mode” provides you a starting point to help you determine whether an issue is caused by software that loads as your Mac starts up or a hardware problem. Booting your Mac in Safe mode verifies your startup disk and repairs directory issues, if needed.
It loads only the bare minimum system extensions, leaving behind third-party kernel extensions and login items while clearing font, kernel, or other system caches. If the issue returns after leaving Safe Mode, you’ll know where to start looking for culprits. To boot into Safe Mode, follow the sequences below
Intel Macs: Turn on or restart your Mac, then immediately press and hold the Shift key. A Mac in Safe Mode shows the words “Safe Boot” in bright red text at the upper corner of the login screen.
Apple Silicon Macs: Shut down your Mac. Press and hold the power button (for at least 10 seconds), until your Mac displays the startup options window. Select your startup disk, then press and hold the Shift key. Click Continue in Safe Mode or press Return.
2- Repair Your Disk in macOS Recovery
Every Mac ships with macOS Recovery, which lives on a separate partition on the startup disk. This mode allows you to repair or restore the startup drive, access the Terminal, and reinstall macOS. To boot into macOS recovery, follow the below steps:
Intel Macs: Restart or turn on your Mac, then immediately press and hold Cmd + R. Release the keys when your Mac displays anything on the screen. If you’ve set up a firmware password, you must provide it to access recovery mode.
M1 Macs: Shut down your Mac. Press and hold the power button until you see a prompt that says “Loading startup options.” A set of one or more drives should appear along with a gear icon labeled Options. Select Options, then press Return.
3. Use fsck in Single User Mode
If Safe Mode or performing first aid in macOS Recovery didn’t fix your problems, we’ll use fsck (file system consistency check). It’s a popular Unix tool for checking and fixing drive problems. Single-User mode allows you to make changes to shared user resources.
It doesn’t attempt to boot macOS, but simply provides access to Unix command line. To boot into Single-User mode, start your Mac in macOS Recovery and choose Utilities > Terminal. This procedure applies to both Intel and M1 Macs.
For older Macs, press and hold Cmd + S when your computer boots. If you have set a firmware password, then Single-User mode is not available to you. When you’re in the Terminal, type the following and hit Return:
/sbin/fsck -fy
(Wherein “f” means that it’ll force the utility to check the drive file system, and “y” means it’ll automatically confirm the actions of fsck command.)
Depending on the size of your volume, it may take a while for this process to complete. Repeat this commmand until you see the message “The volume Macintosh HD appears to be OK.”
Then, run:
/sbin/mount -uw
This will mount the startup volume as a read-and-write file system. Once you’re done, run the exit command to start up the Mac.

![DELL / LATITUDE 3580 [32Gb RAM + 1Tb SSD]](https://atihtechnology.com/wp-content/uploads/2025/01/Dell_Latitude-3580-300x300.jpg)

